
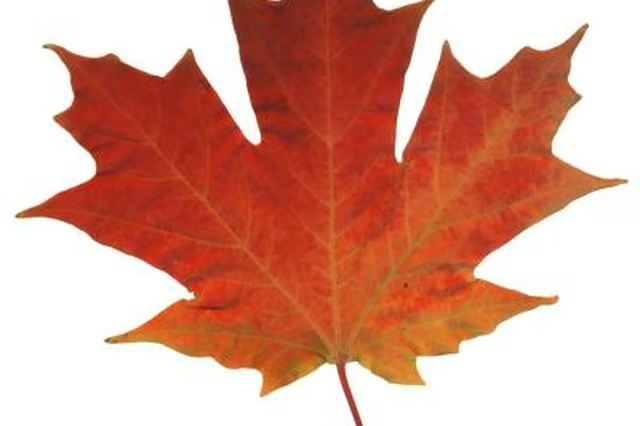
Leaf collecting isn’t just for the classroom and for science projects. During hikes in your local area or while visiting new regions, you can collect and gather leaves for a leaf collection. Mounting leaves is a great way to display your leaf collection and to enjoy it for many years. You can display your leaf collection in an album to enjoy the beauty of your leaves and to remember your experiences collecting them. Once leaves are collected, it should take approximately two weeks to complete the leaf-mounting process.
Step 1
Place an old phone book front-side up toward you. Open the back of the phone book. Leave the last 10 pages in the back. Place a leaf flat in the middle of the page. Place 10 more pages down on top of the leaf. Place the next leaf in the center of the page. Place 10 more pages down on top of that leaf. Repeat until all the leaves are placed inside the phone book. You will have a leaf placed inside the phone book every 10 pages.
Step 2
Place the phone book in a warm, dry area of your home. Place a brick on top of the phone book. Allow the leaves to dry for 8 to 12 days. Check the leaves. Repeat Step 1 if the leaves have any moisture remaining in them.
Step 3
Write down the date the leaf was added to the collection on an index card. Also write down the type of tree and any special memory or event associated with the collection of the leaf. For example: “July 1, 2010. We saw our first pileated woodpecker of the year on the maple this leaf came from.” Repeat with each leaf added to the collection.
Step 4
Place a drop of glue on the back of the index card. Mount the index card toward the bottom on a sheet of scrapbook paper.
Step 5
Remove the brick from the phone book. Remove the first leaf from the phone book. Wrap the leaf in clear plastic wrap.
Step 6
Place a small drop of glue on the back of the plastic wrap where the seam is located. Mount the covered leaf in the center of the scrapbook paper above the index card mounted in Step 4.
Step 7
Repeat steps 3 through 6 until all the leaves are mounted.
Step 8
Place the scrapbook pages in a scrapbook binder or notebook.
Step 9
Repeat the entire process each time you add new leaves to your leaf collection.
Tip
Use acid-free products to mount your leaf collection to make the collection last longer.
Tip
Store your leaf collection scrapbook in a dry area out of direct sunlight.
Warning
Wet leaves will require additional drying time.
Warning
Never mount leaves that have not been dried and pressed.