
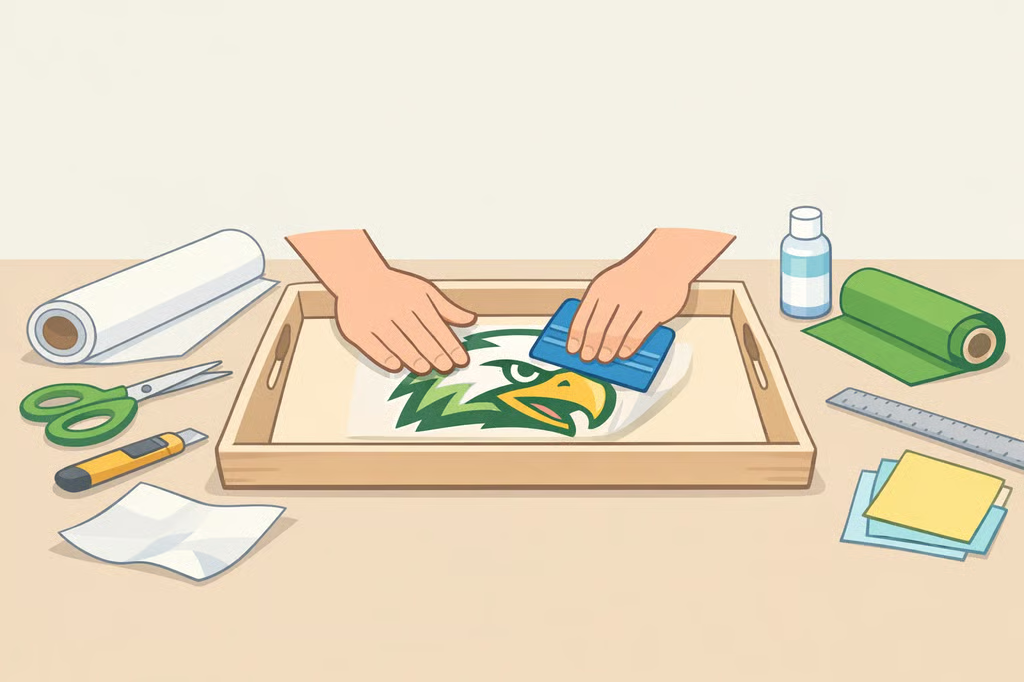
A plain wooden tray does not look like much at first, but with the right vinyl design, it can become a personalized piece of college décor. This project shows how to turn a blank or thrifted tray into a college logo display tray using permanent adhesive vinyl or a pre-cut decal, with no advanced woodworking required. The finished tray works well as a dorm-room accent, graduation gift, or display piece for a school event.
The process is straightforward, but a few details make the difference between a clean result and a frustrating one: measuring the usable space correctly, preparing the surface, choosing compatible transfer tape, and checking the college’s trademark rules before reproducing an official logo. Because Cricut states that its permanent vinyl is not intended for food or mouth contact, the finished tray should be used for display rather than for serving unpackaged food.
Materials and tools
Gather the materials for the method you plan to use:
- A finished blank tray or thrifted wood tray
- Mild dish soap and clean cloths
- Fine-grit sandpaper, if the tray is rough or will be refinished
- Paint or stain, if desired
- Permanent adhesive vinyl and a compatible cutting machine, or a pre-cut decal
- Transfer tape recommended for the selected vinyl
- A scraper, burnishing tool, or old gift card
- A weeding tool or craft tweezers
- Paper, a ruler, and a pencil for the test layout
A finished tray is the fastest option because it does not require sanding, painting, or curing. A thrifted or unfinished tray allows more customization but adds preparation time. A pre-cut decal is the simplest option for anyone without a cutting machine.
Check the college’s logo rules
College names, logos, mascots, seals, initials, slogans, colors, and other identifying marks may be protected by the institution. Before making a tray for a student organization, fundraiser, giveaway, raffle, or sale, review the college’s trademark and merchandise policies.
Requirements vary. The University of Iowa, for example, says merchandise bearing its names or logos that will be given away or used at internal university functions must undergo review and be purchased from a licensed vendor. Check the institution’s official trademark and licensing rules before ordering materials.
Design approval alone may not be sufficient. NC State requires registered student organizations to obtain prior approval and purchase merchandise bearing university marks from licensed campus suppliers, whether the products are sold, used for fundraising, or given away.
Rules for a one-off personal craft may differ from those for organizational or commercial merchandise. Do not assume that a logo found online is free to reproduce. Ask the institution whether the planned design and use require approval or production by a licensed vendor.
Measure and test the design
Measure only the tray’s flat application area inside its rim, handles, grooves, or curved edges. Leave a visible margin around the design so narrow vinyl details are less likely to rub against the tray’s sides.
Print or cut a paper copy of the design at full size and place it on the tray. Check its scale, position, and distance from the edges before cutting vinyl. Enlarge or simplify narrow lettering and small mascot details that may be difficult to weed.
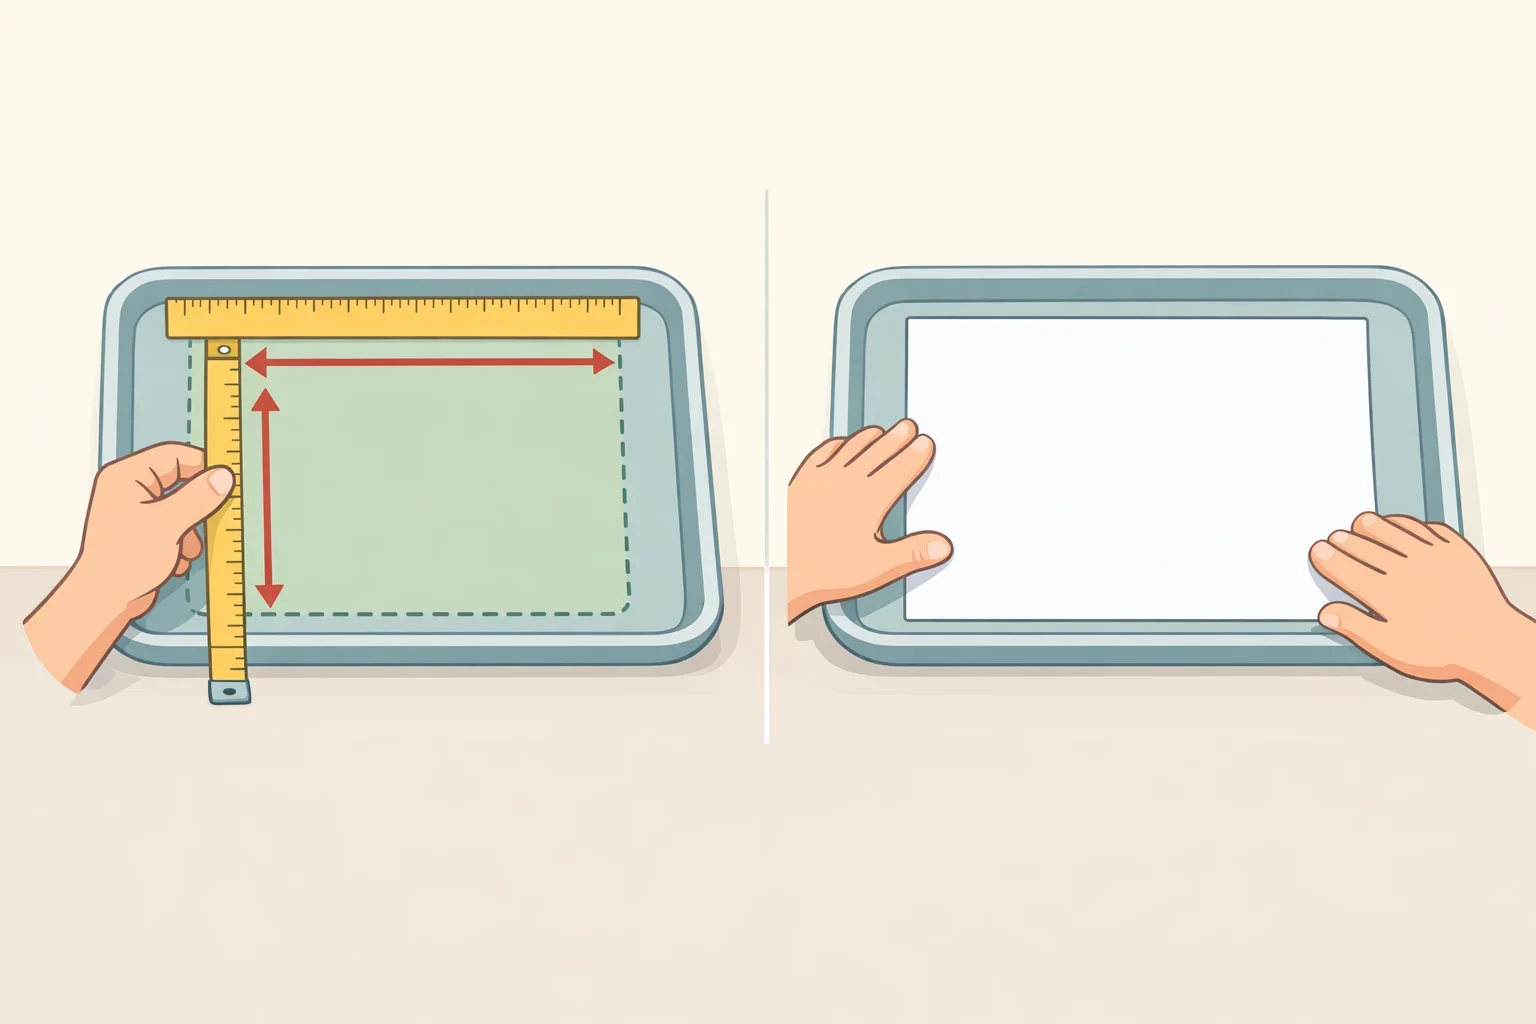
Record the approved width and height. Save those dimensions if you plan to make more than one tray.
How to make the vinyl tray
1. Clean the tray
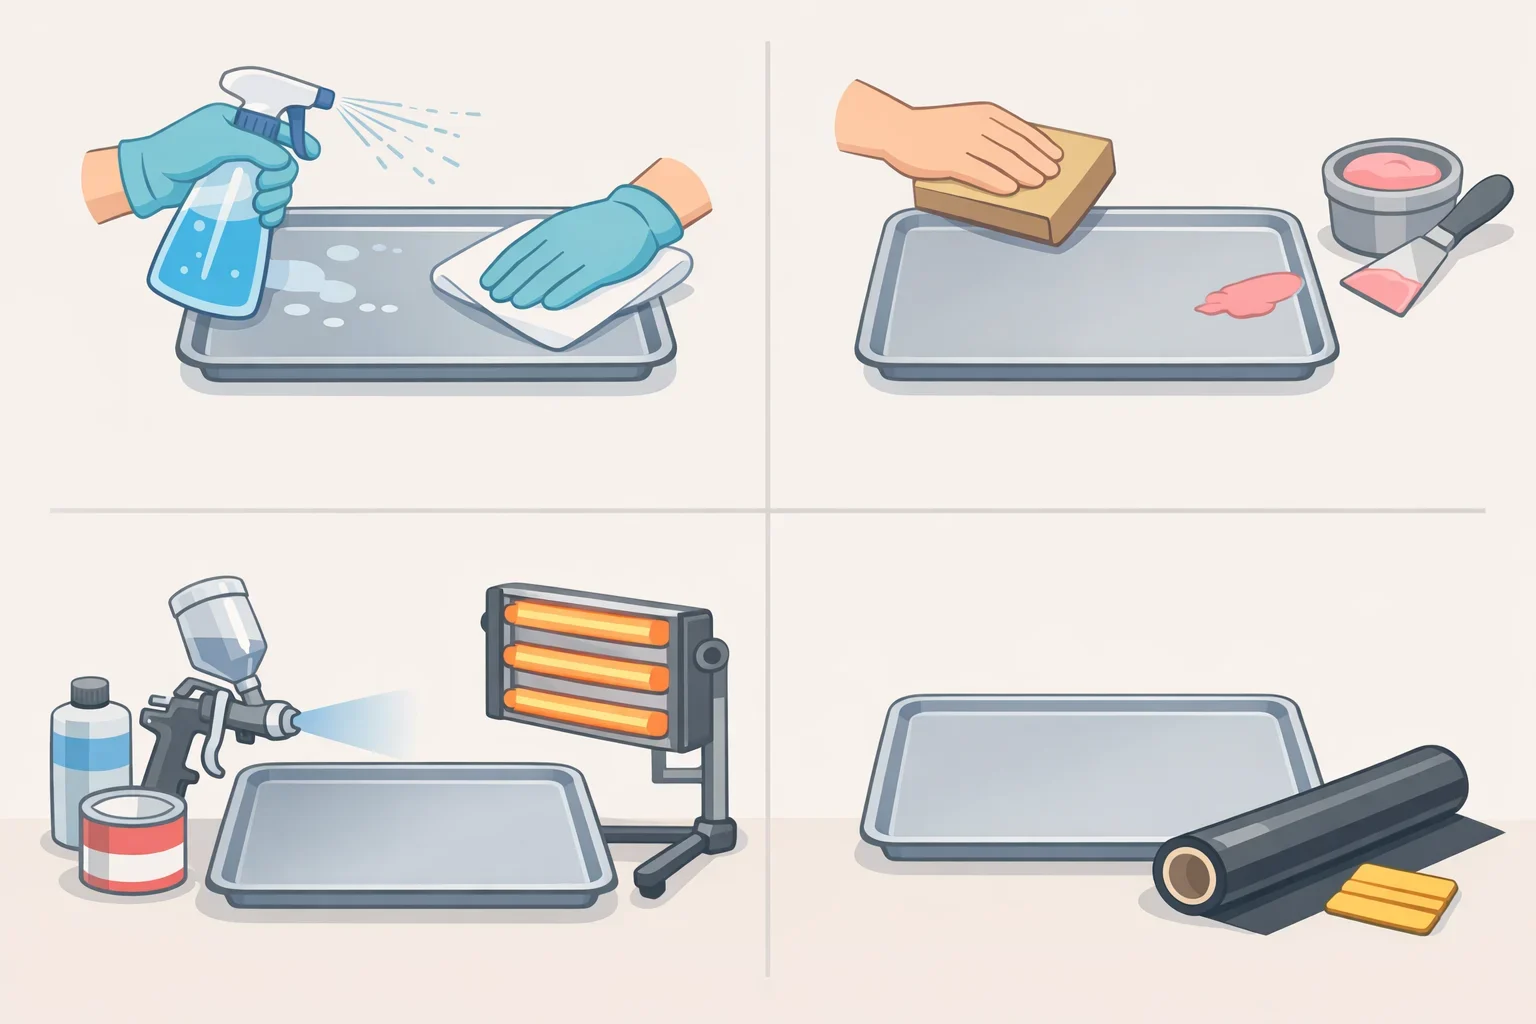
Wash a compatible finished surface with mild dish soap and water, then dry it completely. Dust, oil, wax, and cleaner residue can prevent vinyl from adhering properly.
For sticker residue on finished wood, test a label-approved adhesive remover in a hidden area first. Goo Gone says its original adhesive remover can be used on finished wood when applied as directed but should not be used on unfinished wood. Wash the area with soap and water after removing the residue.
2. Sand the tray if needed
Lightly sand rough wood or a glossy surface that you intend to repaint or stain. Remove all sanding dust before applying a finish.
Skip sanding if the tray already has a smooth, compatible finish that you plan to keep. Unnecessary sanding can damage the existing surface.
3. Paint or stain the tray
Apply paint or stain according to the product label, including its directions for surface preparation, ventilation, recoating, drying, and curing.
Do not apply vinyl simply because the finish feels dry to the touch. A coating that has not fully cured may lift with the transfer tape or prevent the decal from bonding.
4. Prepare and cut the design
Place the paper mock-up on the tray once more to confirm the layout. Resize the approved design to the recorded dimensions in the cutting-machine software.
Select the machine setting that matches the exact vinyl. Standard adhesive vinyl is not mirrored like heat-transfer vinyl. Run a small test cut when using unfamiliar material or new settings.
5. Weed the vinyl
Remove the vinyl surrounding the design while leaving the intended letters, shapes, and details on the liner. Clear the centers of letters and other enclosed areas with a weeding tool.
Work slowly around thin lines and small elements. If important pieces repeatedly tear or lift, enlarge or simplify the design before cutting it again.
6. Apply the transfer tape
Choose transfer tape that is compatible with the selected vinyl. Standard tape works for many smooth vinyl products, while textured materials may require a stronger tape.
Cover the weeded design with transfer tape. Burnish the front with a scraper, then turn the design over and burnish the back.
7. Transfer the design
Peel the vinyl liner away while keeping the design attached to the transfer tape. Position one small part of the design on the clean, dry tray before pressing down the rest.
Burnish outward from the attached area instead of placing the entire decal down at once. Cricut’s transfer-tape instructions recommend peeling the tape away carefully at a low angle. If part of the design lifts, press it back down and burnish it again before continuing.
Fix common vinyl problems
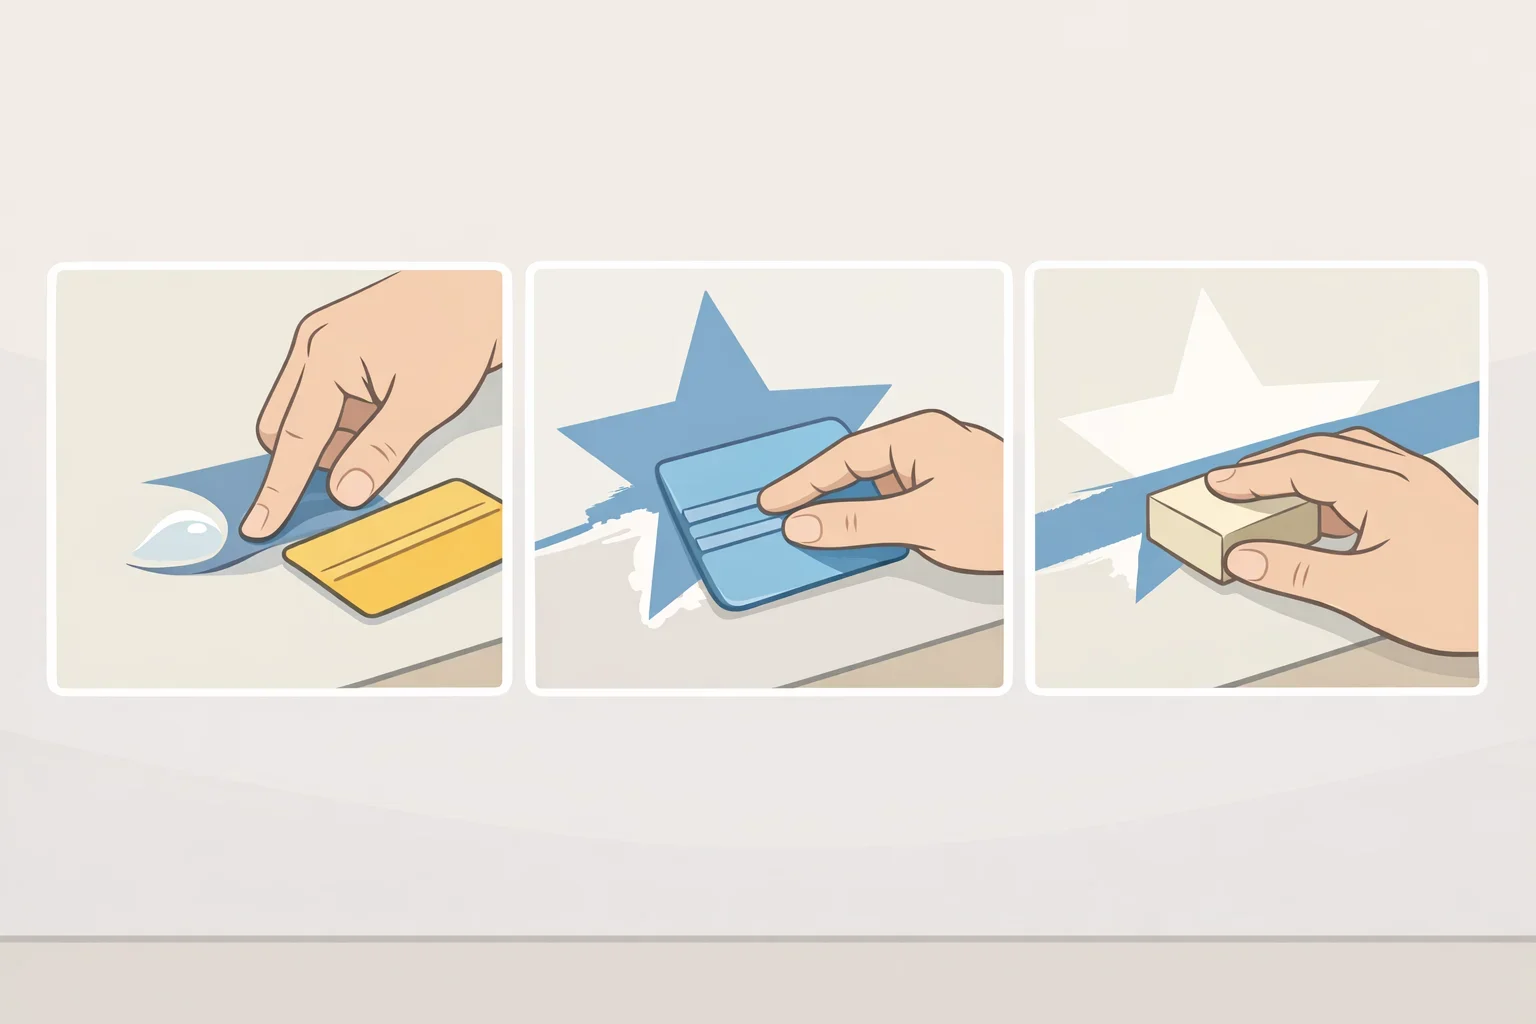
The vinyl lifts at the edges: Burnish the raised area again. Check whether the tray was clean, dry, fully cured, and compatible with the vinyl. Do not add a sealer unless the vinyl and sealer manufacturers approve that combination.
The vinyl stays on the liner: Burnish the back of the design again, then peel the liner away slowly.
Bubbles or wrinkles appear: Press the vinyl toward the nearest edge with a scraper. If a large wrinkle forms in a section that has not bonded, lift that section carefully and reapply it.
Small details tear during weeding: Enlarge the design, thicken narrow lines, or remove unnecessary detail.
Making trays for a club or fundraiser
Build one prototype before preparing a batch. Confirm the tray dimensions, design size, adhesion, material cost, and production time before cutting the remaining vinyl.
For a supervised classroom or club project, divide the work into measurement, design preparation, budgeting, and documentation. Calculate the cost per tray by dividing the total cost of the trays, vinyl, transfer tape, and finishing materials by the number of completed trays.
Before production, confirm:
- The institution’s trademark and merchandise requirements
- Approval of the proposed design and use
- Whether a licensed vendor must produce the finished items
- School rules for cutting machines and adult supervision
- The cost and production time for each tray
- Care instructions for recipients
Clean and protect the finished tray
Use the completed piece for decorative display. Dust it with a soft cloth and clean it with a lightly damp cloth unless the tray finish or vinyl manufacturer provides different instructions.
Do not soak a wood tray or place it in a dishwasher. Avoid putting unpackaged food directly on the vinyl or painted surface. The tray can instead hold cards, packaged items, school memorabilia, or other decorations.
Careful measuring, a paper test layout, and a clean, fully cured surface prevent most application problems. Confirm any logo restrictions before cutting, then take time with the transfer step to produce a tray that can be displayed or given as a school-spirit gift.