
- DIY College Dorm Door Sign: Felt Banner With a Cricut
- Check your equipment and housing rules first
- Decide how you'll mount it before you buy anything
- Materials and tools for a handmade felt dorm door hanger
- Step-by-step: designing, cutting, and pressing your dorm door sign
- Create the dowel pocket and hanging cord
- Verify your finished piece before hanging it
- Your final pre-cut checklist
DIY College Dorm Door Sign: Felt Banner With a Cricut
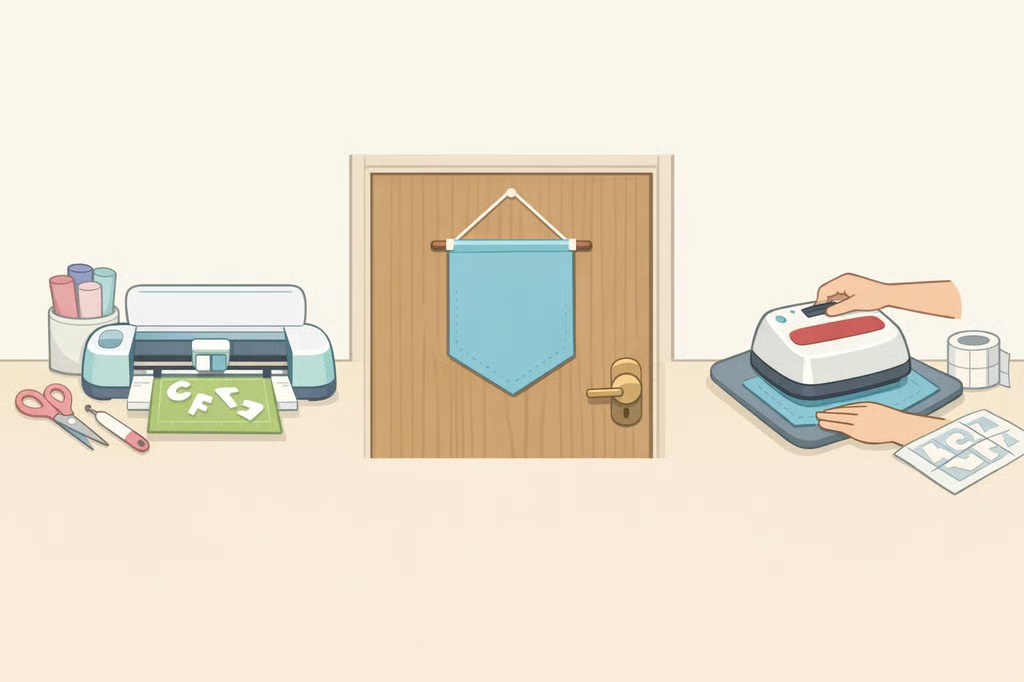
A felt banner is one of the more flexible options for a DIY college dorm door sign because you can swap the wording, trim, and color without redesigning the whole project. This guide walks through the cutting, lettering, and heat-pressing steps for a felt banner built with a Cricut Maker, based on instructions from Real Girl's Realm, which designed the piece as a wall hanging for "any teen's room or college dorm" (Real Girl's Realm). The tutorial's URL indicates an August 2019 post, so treat it as an established Cricut technique and check your press and vinyl manufacturer's current instructions rather than assuming the original settings are still the recommended ones.
This guide is written for college students weighing a personalized dorm door sign for a residence-hall door, a dorm wall, or as a gift for someone heading into a dorm room, similar to the tutorial's own account of making one as a gift. The same steps work for a DIY dorm room door sign hung on an interior wall or closet door instead of the hallway-facing side, which matters if your building doesn't allow hallway displays. This guide also adds a dowel-and-cord mounting method that isn't part of the source tutorial; it's flagged clearly below so you can test it before committing to a final piece.
Check your equipment and housing rules first
This is a Cricut Maker project. Building it as described requires a Cricut Maker with a Rotary Blade and a Fine-Point Blade, plus a heat press such as an EasyPress2 (Real Girl's Realm). The source tutorial uses two blade setups, one for the felt and one for the heat-transfer vinyl, so plan on swapping blades partway through. If you don't own this equipment, your campus may offer a makerspace or library craft lab with it; check before you buy materials, or ask another student who owns a Cricut Maker.
If a Cricut Maker genuinely isn't available, one untested workaround is hand-cutting felt letters instead of using heat-transfer vinyl. Sketch or print your wording, trace the letters onto felt, cut them out with fabric scissors, and attach them to your felt base with fabric glue or hand-stitching. This substitution isn't part of the source tutorial and hasn't been tested for this guide, so try your letter size and glue or stitch hold on a scrap piece before committing to a full design. It also still requires steady hand-cutting skills, so it's a workaround, not a guarantee that this project works without any specialized equipment.
Separately, contact your residence life or housing office, in writing if possible, and ask three questions: whether anything is allowed on the hallway-facing side of the door specifically, what size or weight limit applies, and what attachment methods are approved. Save the answer. The next section turns it into a build decision.
Decide how you'll mount it before you buy anything
Match your housing office's answer to one of these situations before you buy felt, vinyl, or hardware:
- Hallway door permitted with an approved hook or fastener: confirm the exact product or hardware type approved (a specific adhesive strip, a specific hook, or a nail, for example), which surface it's approved for, and how far it's allowed to protrude from the door. Also confirm the door can still close and latch normally with the banner attached, since a dowel or knot that's too thick can interfere with the door frame.
- Hallway display isn't permitted, but interior decor is fine: plan the same design for an interior wall or closet door instead of the hallway-facing side.
- Adhesive strips or hooks aren't specifically approved: don't guess. Ask your housing office which attachment methods it does approve for your building before buying any mounting supplies.
- No numeric size or weight limit is given: some housing offices restrict an item without naming a specific number. Get either the applicable limit or written confirmation that no limit applies, rather than assuming silence means anything goes.
Also check your housing agreement directly for any materials it names as restricted, rather than assuming a generic list of banned items applies to your building. Requirements vary by school and sometimes by building, so this is one to confirm rather than guess.
Materials and tools for a handmade felt dorm door hanger
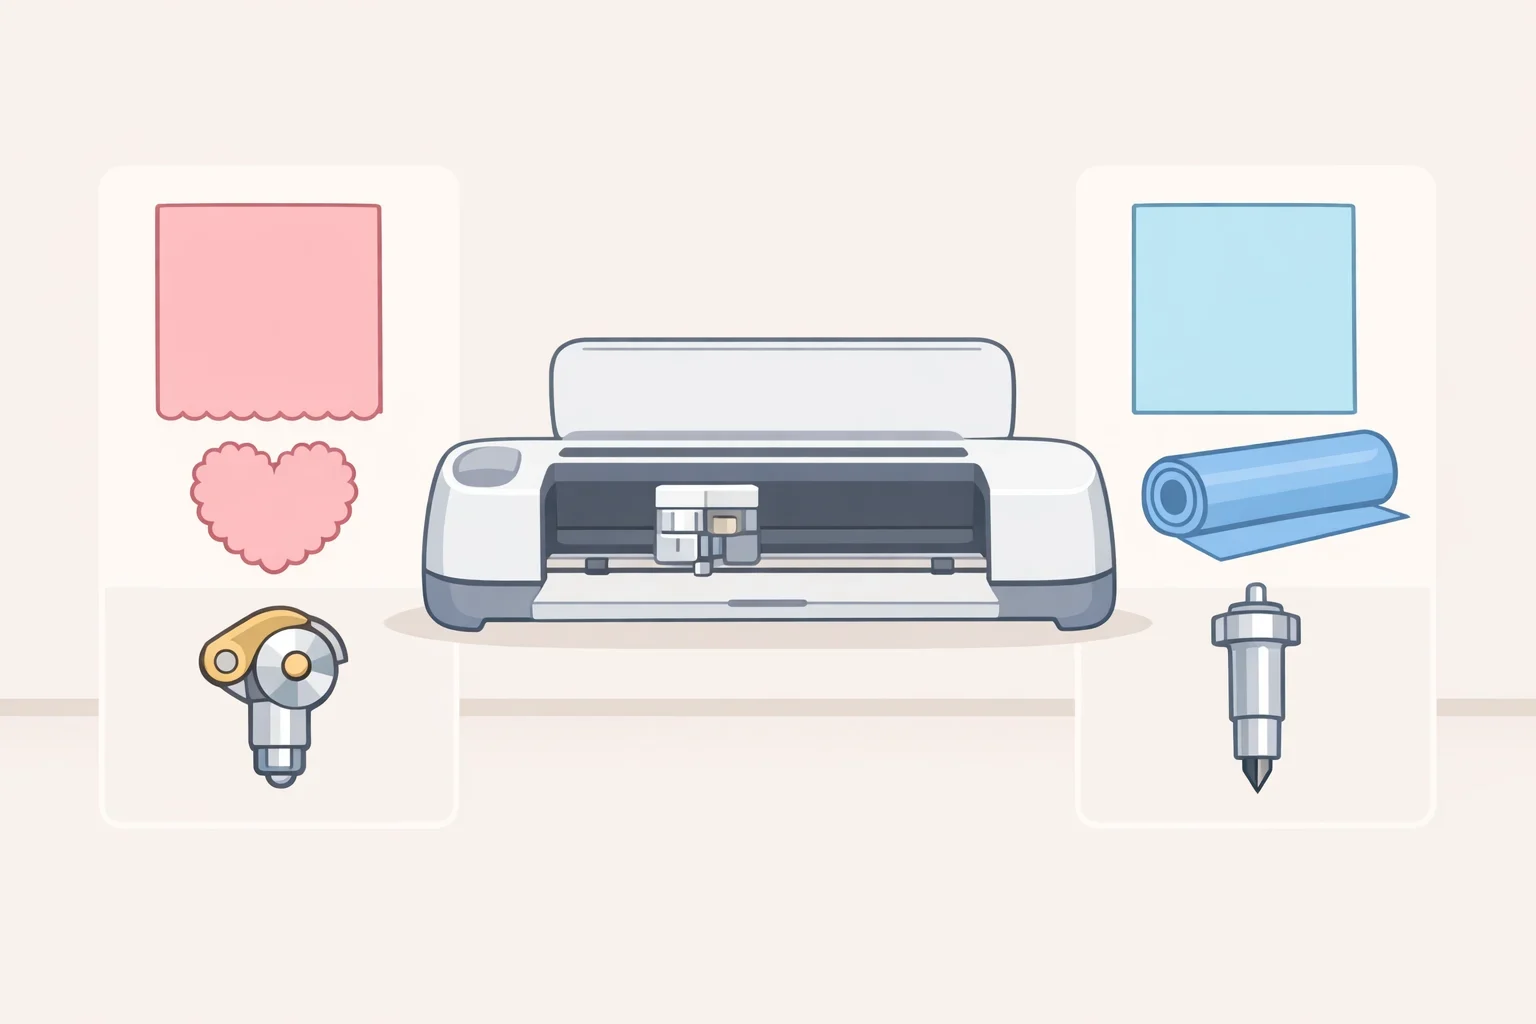
The core materials are felt, heat-transfer vinyl, a wooden dowel, and yarn (Real Girl's Realm). For cutting and pressing, the source uses a Cricut Maker with a Rotary Blade for the felt and a Fine-Point Blade for the vinyl, along with an EasyPress2 (Real Girl's Realm).
For the dowel-attachment step, this guide's own addition, gather a few supplies the source tutorial doesn't mention: fabric glue rated for felt or fabric (or a needle and thread as an alternative), fabric scissors, and extra scrap felt and scrap vinyl for testing. Set up your pressing surface following your heat press's current manufacturer instructions.
Optional embellishments from the source tutorial include tassels, pom-poms, or decorative trim (Real Girl's Realm). Add any of these only after checking they won't push your finished piece past the size or weight limit your housing office confirmed, and add mounting hardware from that same approved list if your building requires a specific hook or fastener.
Step-by-step: designing, cutting, and pressing your dorm door sign
- Set your finished dimensions. Measure your available door or wall space and subtract any maximum size your housing office confirmed. Then measure the height of your planned lettering and leave margins on both sides so the wording doesn't run edge to edge. As an example, a two-line quote with 2-inch lettering might sit inside a 12-by-16-inch felt panel, with roughly 2 inches of margin on each side. A rough starting ratio is about one and a half times the lettering height for the panel size, but that's an editorial suggestion, not a tested formula, so adjust it based on your actual wording and panel size.
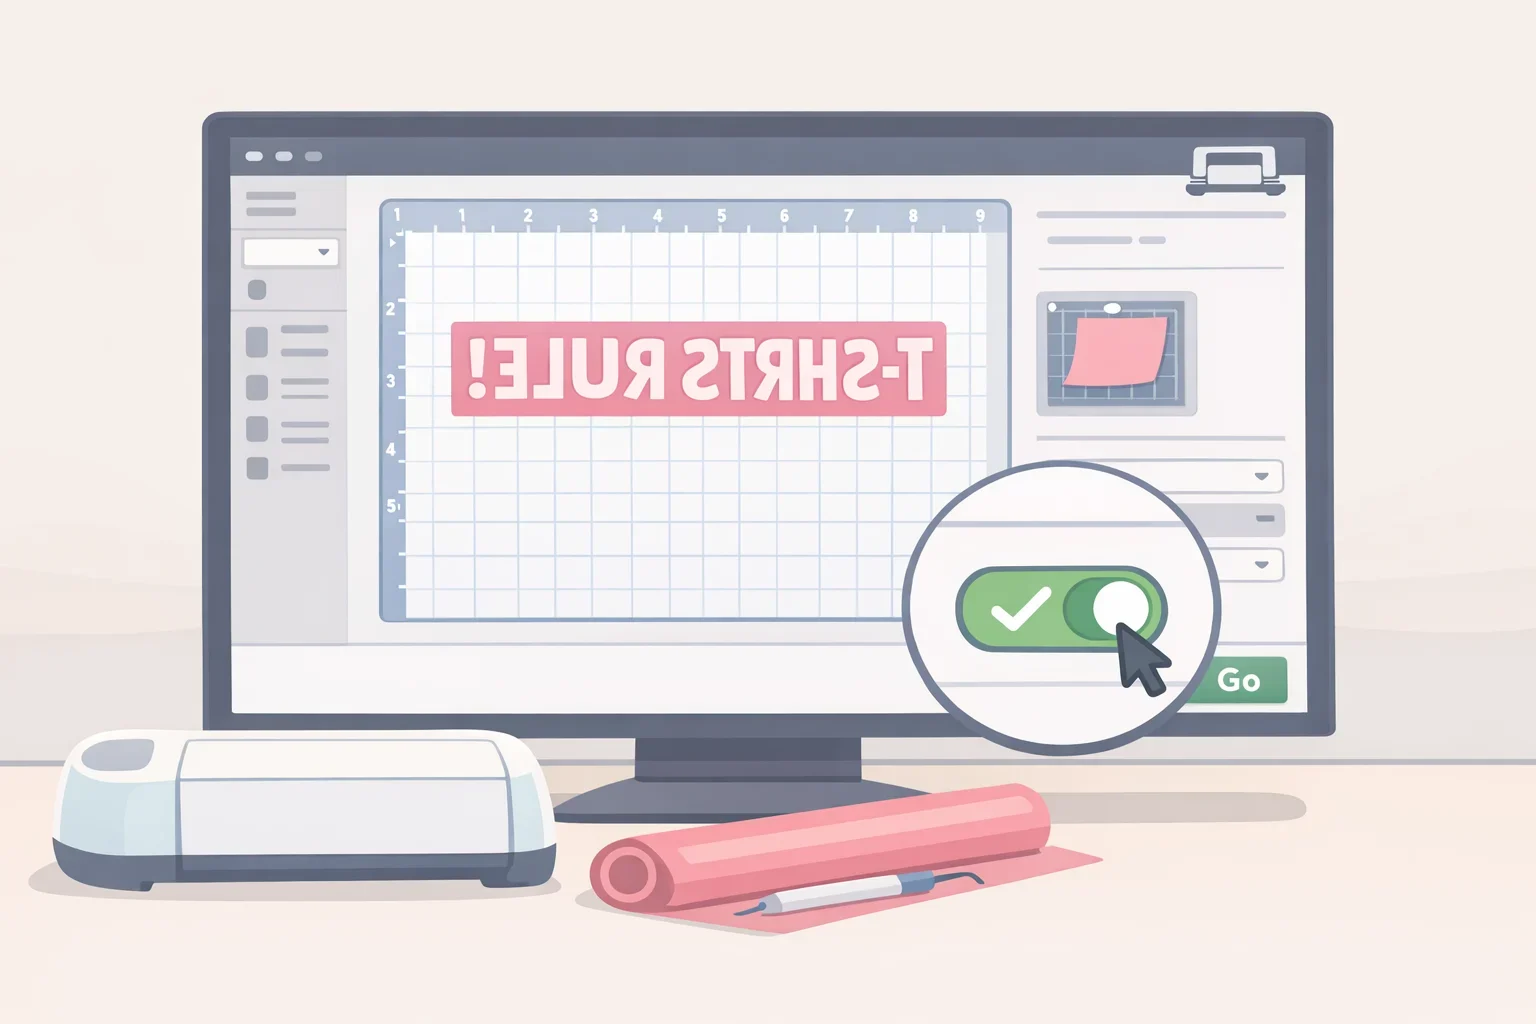
- Build the design in Cricut Design Space. Set your felt rectangle to the dimensions from step 1, then place your text or quote inside it at the size you want. Check the margins on screen before cutting anything.
- Cut the felt base. Load the Rotary Blade, select the felt material setting, and press the blinking "C" to start the cut (Real Girl's Realm). Unload the mat once the cut finishes and check the edges. If the cut looks ragged anywhere, inspect the edge and troubleshoot your material setting, mat, or blade condition before pressing anything onto it.
- Switch blades and cut the vinyl lettering. Change to the Fine-Point Blade (Real Girl's Realm). Before cutting heat-transfer vinyl, mirror the design in Design Space. Skipping this step reverses the lettering once it's pressed (Real Girl's Realm).
- Test the press on scrap material first. The source tutorial preheats according to the material chart and presses for 30 seconds (Real Girl's Realm), but that's one crafter's reported setting, not a universal one. Check the current instructions for your specific heat-transfer vinyl and your felt weight before pressing, since settings differ by brand and material thickness. Press a vinyl scrap onto a felt scrap and check whether the vinyl bonds without lifting and whether the felt shows scorching or shine.
- Press the lettering onto your final felt piece only once the scrap test matches the manufacturer's current instructions for your specific vinyl and felt, not simply because it looks clean visually (Real Girl's Realm). A test that looks fine at a glance can still be under- or over-pressed for that particular material pairing, so match it to the documented time and temperature range for your materials before moving to the final piece.
Create the dowel pocket and hanging cord
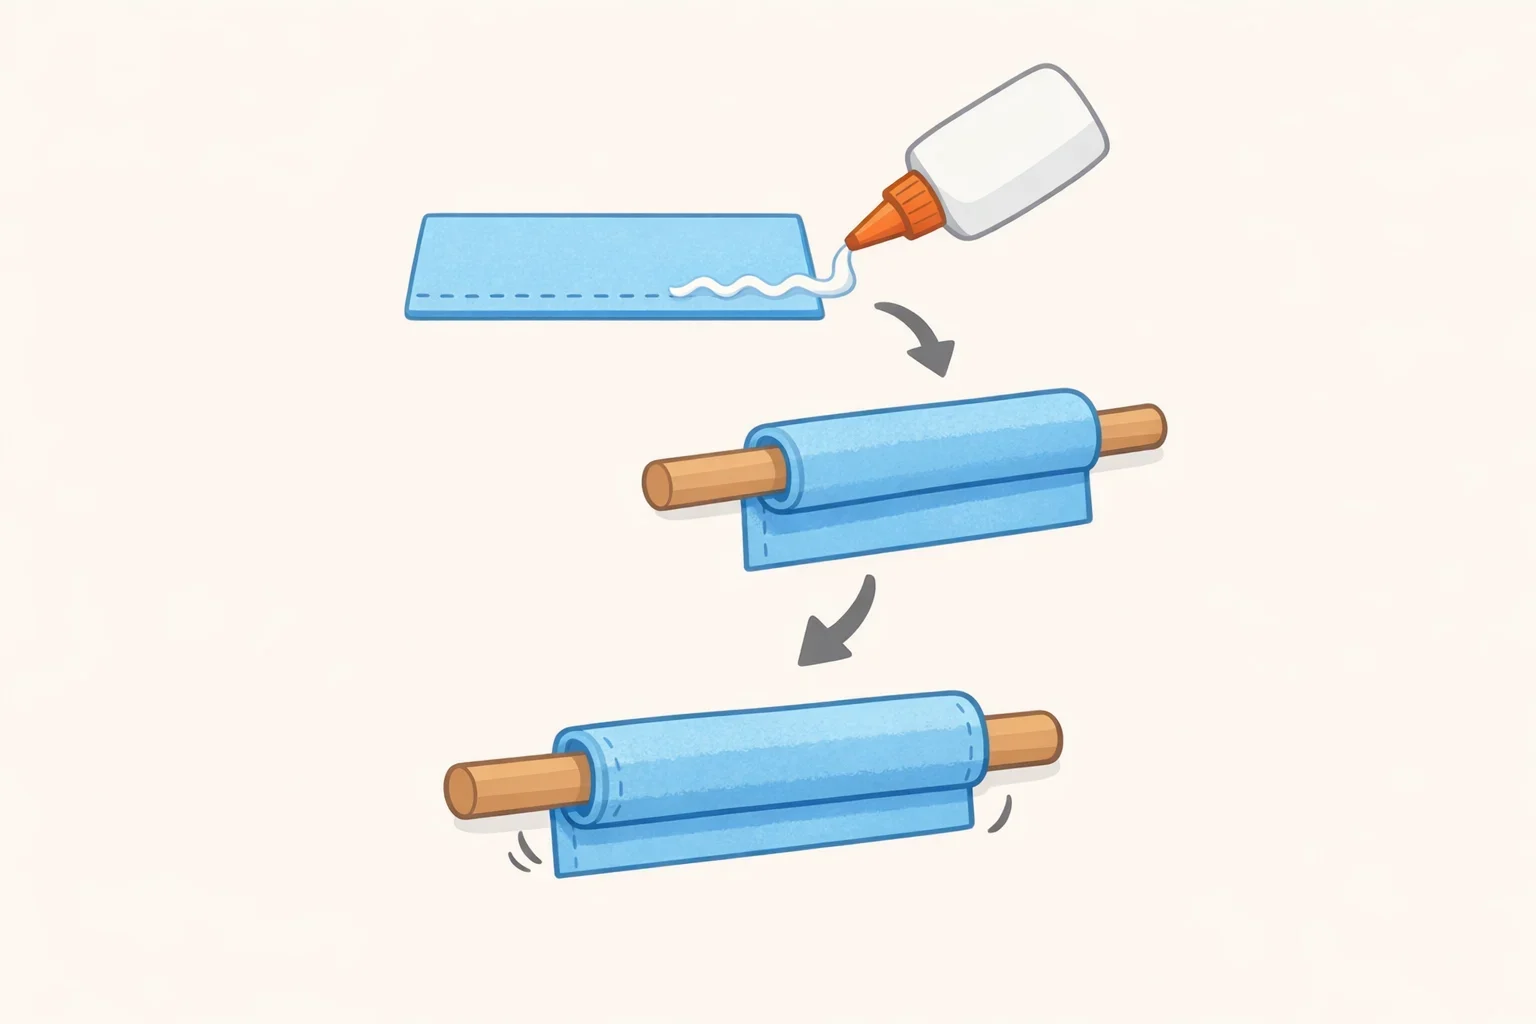
Everything in this section is this guide's own adaptation, not part of the source tutorial, so test each piece on scrap felt before trusting it on your finished sign.
- Attach the felt to the dowel. Fold the top edge of the felt over the dowel to form a pocket, then secure it with fabric glue rated for fabric use, following the glue's dry time on the label. Test the fold and glue on a scrap piece of the same felt weight first; thicker felt may need a wider fold or more glue than thinner felt, and a glued pocket may hold less weight than stitching if your dowel or embellishments are heavy. For a more durable hold, hand-stitch the pocket instead. Whichever method you use, hang the scrap test with the dowel and any planned embellishments attached until the glue has fully cured per the label, then check for lifting or stretching. A successful scrap test confirms construction reliability, not housing approval, so keep that separate from the checklist in the mounting section above.
- Cut the dowel to length, if needed (Real Girl's Realm). Leaving a small margin on each end past the felt panel is one optional design choice, not a measurement from the source tutorial, so size it to whatever looks right for your panel. Insert the dowel through the pocket.
- Measure and cut your yarn. The source tutorial describes two separate yarn steps. First, measure a length of yarn equal to about twice the width of your banner, plus a little extra (Real Girl's Realm); the tutorial doesn't specify exactly what this first length is used for beyond general assembly, so keep it on hand as working yarn. Second, cut a separate piece of yarn, this is the one that becomes your actual hanging loop, and tie it to each end of the dowel by wrapping it around a few times and knotting it securely (Real Girl's Realm).
- Add optional embellishments, such as tassels, pom-poms, or trim glued to the bottom or sides, only after confirming the added weight still fits your housing office's limit (Real Girl's Realm).
One crafter reported finishing a similar project "in an afternoon" as a gift (Real Girl's Realm). Treat that as one person's experience rather than a guaranteed timeline, especially once the scrap testing for the dowel pocket and press settings is factored into your schedule.
Verify your finished piece before hanging it
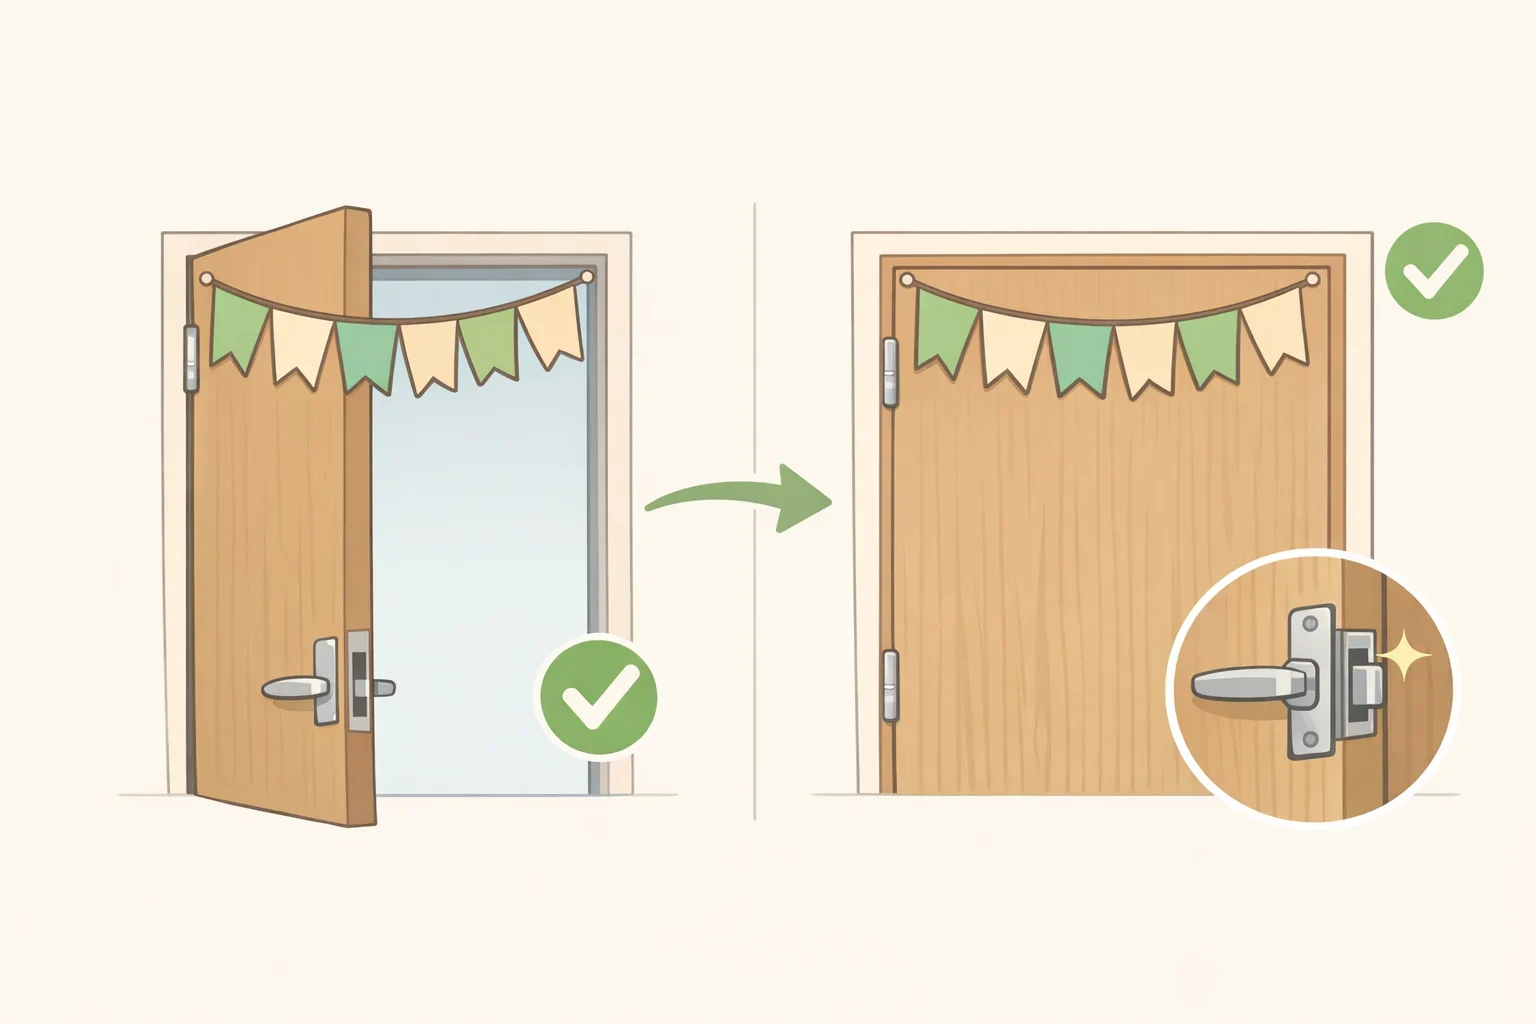
Before you hang the finished banner on your actual door, run through this short check. Compare your finished piece, including dowel, yarn, and any trim, against your housing office's approved size and weight limit; weigh it if you have access to a scale, and estimate carefully if you don't. Confirm the dowel ends don't extend past your approved fastener's mounting point, and check that the door still closes and latches normally with the banner attached. If anything falls outside what your housing office approved, adjust the design or mounting method rather than hanging it and hoping it's fine.
Your final pre-cut checklist
Work through these in order: confirm your equipment access, get your housing office's mounting rules in writing, build your design to the dimensions you've confirmed, and run a scrap test of both the heat press and the dowel pocket. Cut your final felt and vinyl only after every one of those checks out and your wording fits your confirmed dimensions with margin to spare. Save your housing office's written answer somewhere you can find it again, since you'll want it on hand if a resident assistant or housing staff member asks about the sign later.