
- How to Make Science Experiments Meaningful for Kids: 4 Steps
- Start with a phenomenon, not a set of instructions
- How to teach kids the scientific method through questions
- Plan a fair test before touching materials
- Record evidence and reach a conclusion the child can defend
- What to check before the next experiment
How to Make Science Experiments Meaningful for Kids: 4 Steps
A recipe-style experiment teaches a child to follow steps in order. An experiment built around a real question asks the child to figure something out. Both can happen with the same materials on the same kitchen table. The difference is what happens before anything gets folded, mixed, or glued.
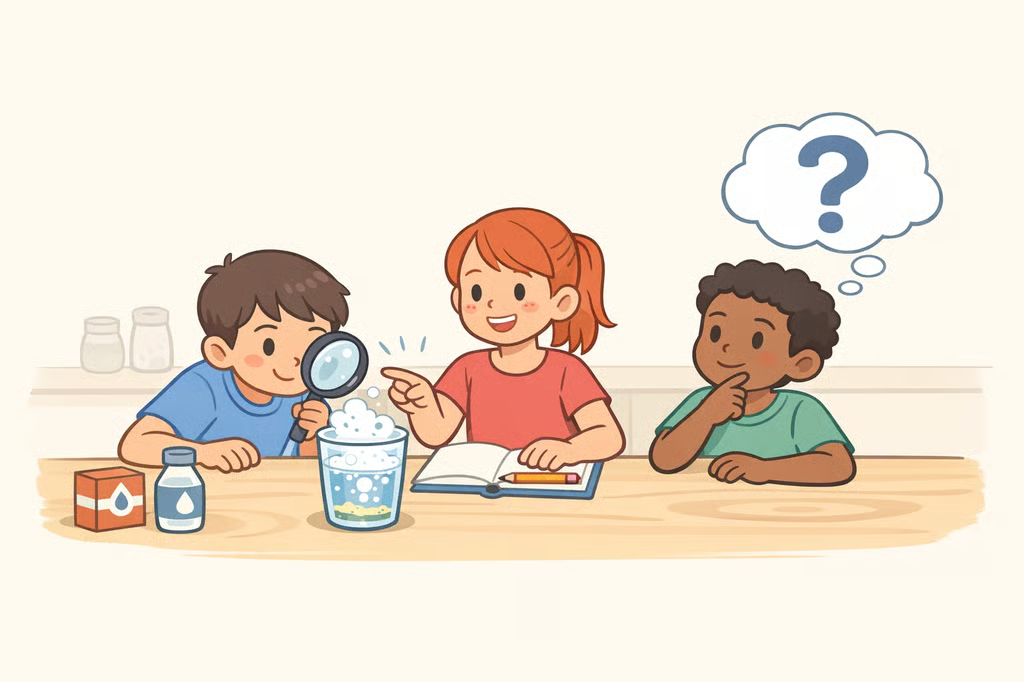
This guide walks through a repeatable way to make science experiments meaningful for kids: notice a phenomenon, narrow it into a testable question, plan a fair test, and help the child reach a conclusion from evidence. One running example, a paper airplane that flies far on one throw and crashes short on the next, carries the method through all four steps. Purpose-driven science activities for kids don't require special kits. Color-changing reactions, floating objects, and paper airplanes are engaging DIY science projects for kids that work fine with what's already in the house.
Educators who build lessons around a driving question have reported that students take on investigations because they're curious about the answer, not because a worksheet told them to (Edutopia). A review of 48 studies on inquiry-based labs sorted its findings into eight recurring themes, including student autonomy and self-efficacy, which shows how widely researchers study that connection without proving that any single home activity produces those outcomes (IOPscience). The four sections below adapt that classroom thinking for a parent, tutor, or homeschool educator working with one child rather than a room of thirty. Age notes for children roughly 6 to 9 and 10 to 14 are included as flexible suggestions, not fixed rules, since every child moves through this differently.
Start with a phenomenon, not a set of instructions
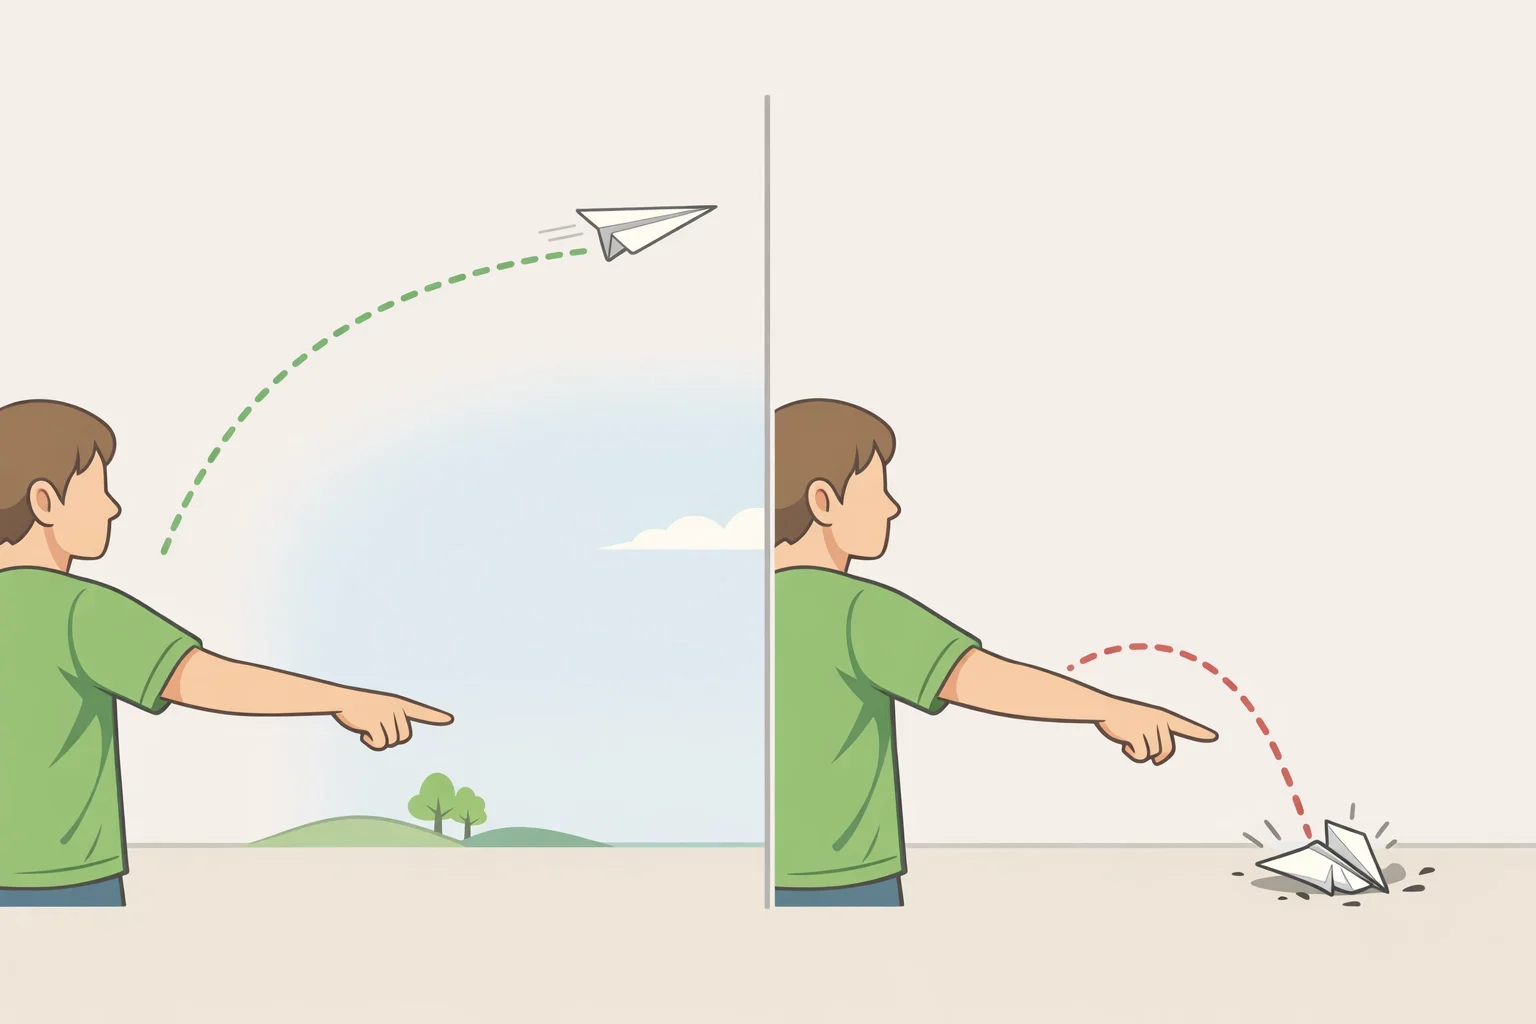
The first move isn't handing a child instructions. It's showing them something worth explaining.
One Edutopia instructional model recommends flipping the usual order of a lesson: present a phenomenon or prompt first, let the learner reason about it, and only afterward add structured support, rather than explaining the concept before any testing happens (Edutopia). In one classroom example built on this idea, a teacher skips telling students how a tree gains mass through photosynthesis and instead asks, "Where does the mass of a tree come from?" turning a stated fact into an open puzzle the class has to work out (Edutopia).
That doesn't mean direct instruction disappears. The same source notes there's still "a time and place" for step-by-step modeling, particularly for a skill-based task like using a graduated cylinder safely for the first time (Edutopia). The distinction matters: teach the tool, question the concept.
For the paper airplane, that looks like this. A plane crashes short on one throw and glides far on another. Instead of explaining lift and drag, the adult just says, "Huh, that one didn't go very far. What did you notice?"
Before the next activity, find or cause a small surprising moment: a color that changes, an object that floats when it shouldn't, a plane that nosedives. Present it without commentary and save the explanation for after the child has tested it themselves.
If a child is new to this kind of activity, keep the phenomenon down to one variable: one plane, one surface, one obvious change. Once a child is comfortable noticing and describing what happened, the phenomenon can involve more moving parts at once, like paper weight, fold style, and throw angle together.
How to teach kids the scientific method through questions
Open curiosity needs a little structure to become an actual experiment. Otherwise "why did that happen?" stays a conversation instead of a test.
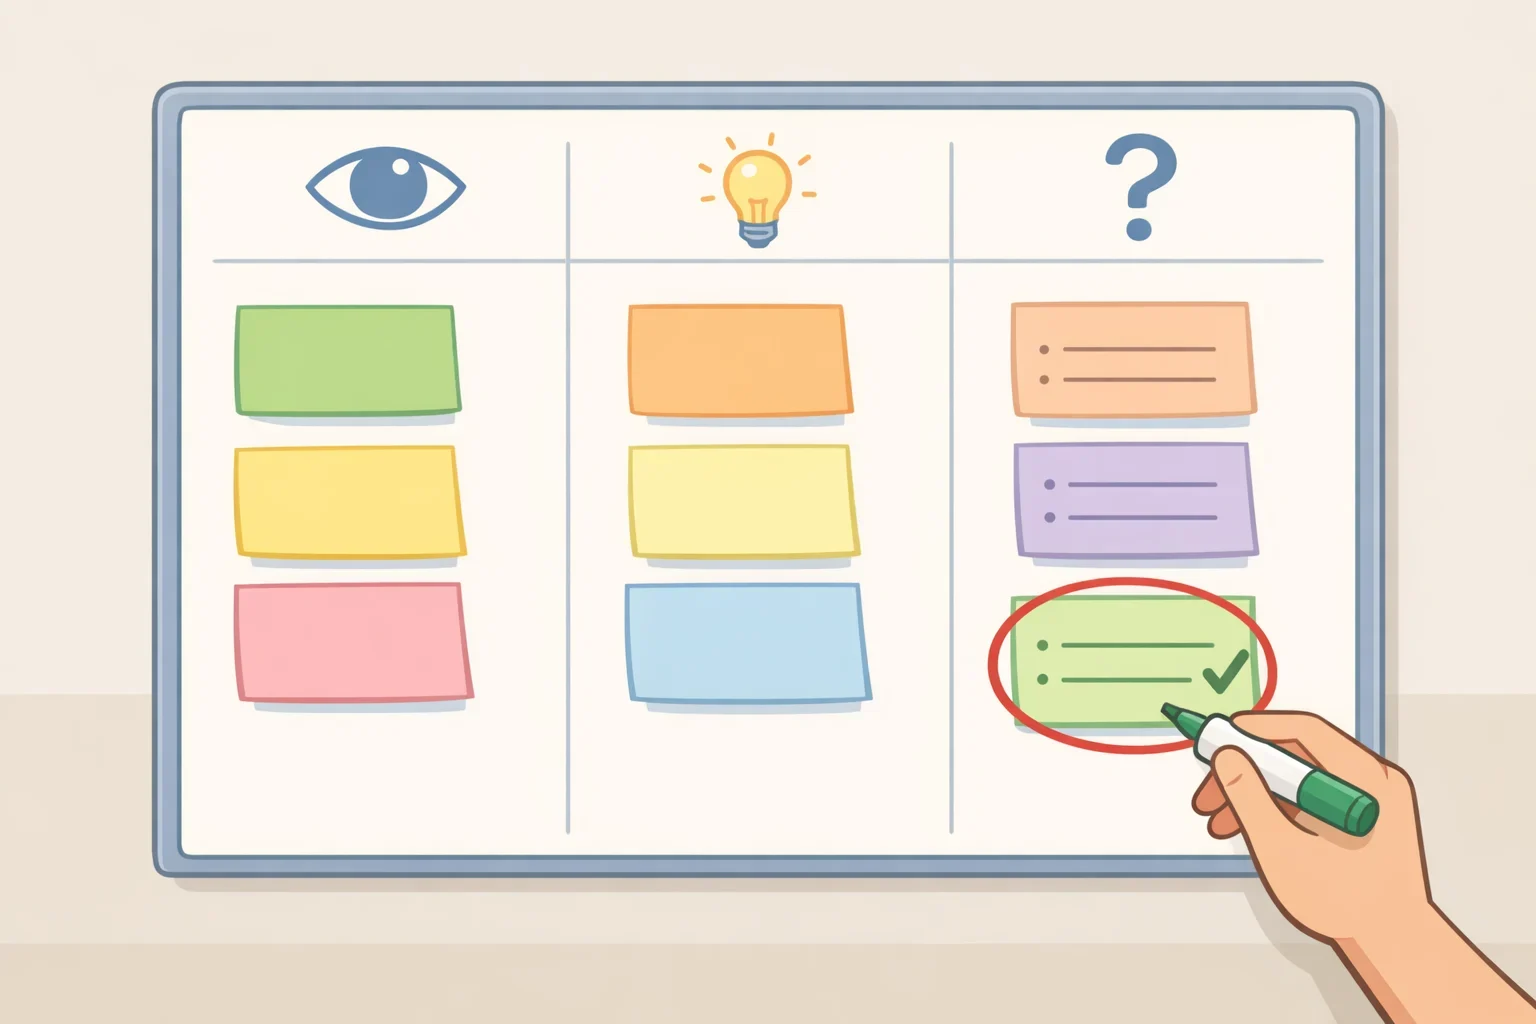
In one high school routine, students move from individual questions to small-group questions to a shared shortlist posted on a "driving question board" (Edutopia). That sequence was built for a classroom of thirty, but the underlying idea adapts well to one child at home: have the child generate a few questions out loud, then circle the one that seems most answerable.
A separate routine called "See, Think, Wonder" gives learners a three-step script, observe, interpret, question, for approaching any phenomenon before jumping to conclusions (Edutopia). This kind of structured discourse "doesn't unfold automatically," even when the goal is student-led exploration; it takes intentional scaffolding from the adult (Edutopia).
Try it in three steps:
- Ask three questions in order: "What do you notice?" then "What do you think is happening?" then "What do you wonder?"
- Write down every wonder question without judging any of them.
- Help the child pick one question that names something they could actually change and test. For the paper airplane: "Does a heavier nose make the plane fly farther?"
Some questions need to be narrowed before they can be tested safely and fairly. If the question is untestable ("why do I like blue planes better?"), unsafe, too broad for the setting ("how does gravity work?"), or needs materials the house doesn't have, don't drop it. Narrow it instead. Ask, "What's one small part of that we could actually check with what we have?" A question about gravity in general becomes a testable one about whether a heavier nose changes flight distance.
When the child asks why something happened, resist supplying the mechanism. Say "What could we change to test that?" instead. Save direct instruction for tool safety, scissors, hot glue, stopwatches, not for the explanation itself.
If a child gets stuck at the wonder step, offer two or three sample questions to choose from rather than waiting for one to appear on its own. If a child generates questions easily, let them narrow the list themselves using the three-question script alone.
Plan a fair test before touching materials
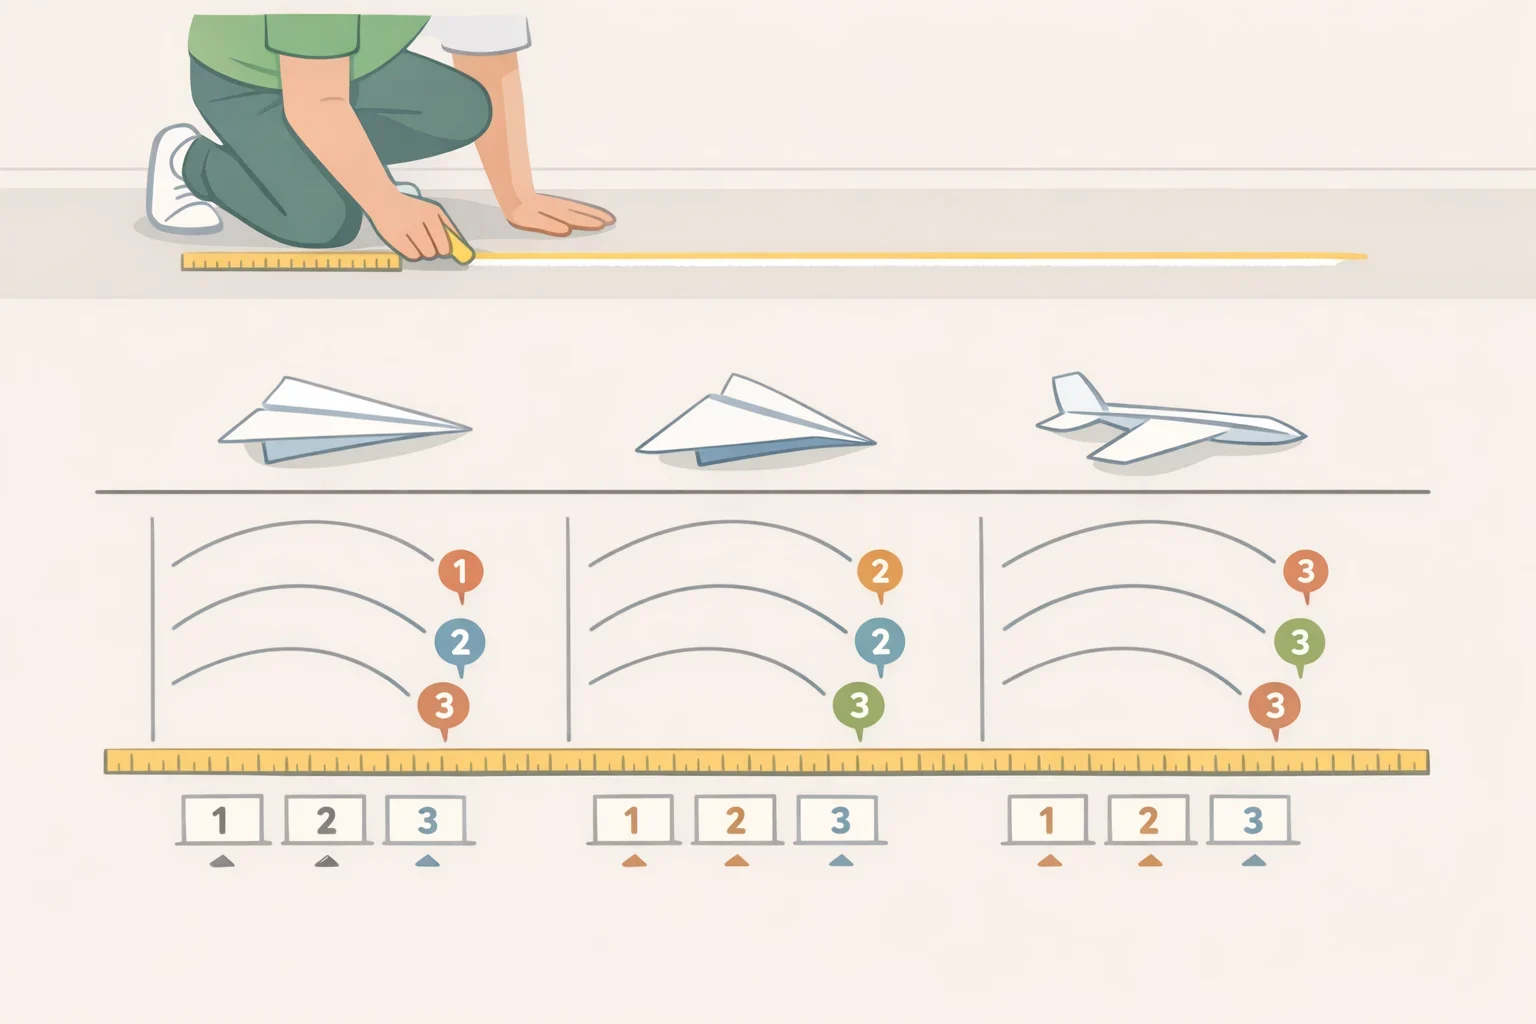
A good question still needs a plan: what will change, what will be measured, and what has to stay the same. Skip this step and the results won't actually answer the question that was asked.
Analyzing data gets treated as a simple procedural task in a lot of classrooms, but real evidence requires deciding in advance what counts as a fair comparison, since real-world results are messy and take genuine critical thinking to interpret (Edutopia). That planning step is what separates an actual inquiry-based science experiment for children from an activity that produces results but no clear answer.
Three planning moves cover most home experiments:
- Name what changes. For the paper airplane, that's the weight added to the nose.
- Name what's measured. Distance flown, using a tape measure or floor tiles as a rough unit.
- Name what stays the same. Same thrower, same room, same throw angle, and repeat throws per version to check consistency.
Applied to the paper airplane, a fully specified version of the test looks like this:
- Build two otherwise identical planes from the same size and type of paper.
- Add the same small amount of weight, a paperclip or two, to one plane's nose only. Leave the other plane as is.
- Mark a launch line on the floor with a strip of tape so both throws start from the same spot.
- Have the same person throw both planes, to keep throwing style from becoming a hidden variable.
- Alternate between the two versions and throw each one three times.
- Record each distance, then compare the typical result across the three throws rather than picking whichever single throw went farthest.
One thing worth saying out loud before the child draws a conclusion: adding weight to the nose changes the plane's balance at the same time it changes total weight. That means the claim the child draws should stick to what the test actually measured, whether a heavier nose changed how far the plane flew, rather than a broader statement about weight on its own.
Materials should follow the question, not the other way around. A meta-analysis of 35 studies and 3,303 participants found no overall difference in conceptual learning between hands-on and virtual investigation (Hedges' g = -0.14, 95% CI [-0.33, 0.06]) (Frontiers in Education). For conceptual learning specifically, the review found no overall advantage for either mode; tactile feedback and the learner's age were what changed the pattern, not the mode itself. Virtual investigation helped adult learners more than physical materials did, but that advantage didn't show up for children and adolescents, and it depended on whether touching the material, feeling weight, texture, or resistance, actually mattered to the concept being tested (Frontiers in Education). For the paper airplane, weight and fold are physical by nature, so real materials make sense. For something invisible at home, like planetary orbit or cell division, a short video or simple simulation is a reasonable stand-in for that particular kind of concept, based on the same review.
On the safety side, choose low-risk materials for the child's age, supervise directly anything involving heat, sharp tools, or chemicals beyond kitchen basics, and swap in a video or a pre-approved activity if the planned test can't be done safely at home.
Record evidence and reach a conclusion the child can defend
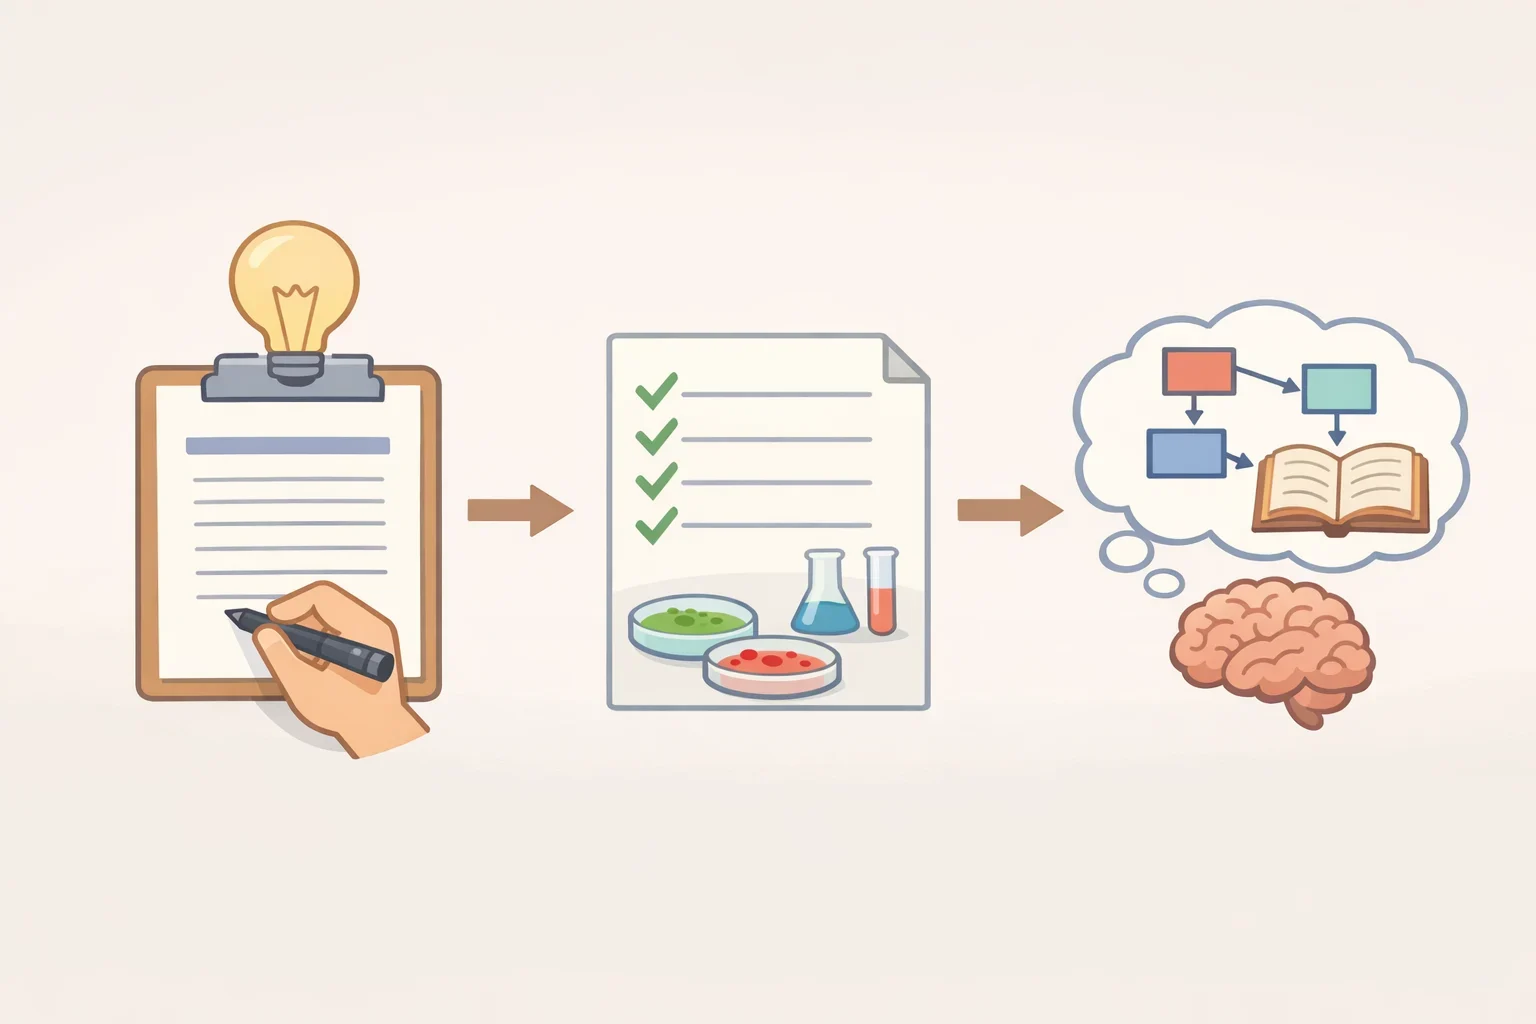
Treat the result, expected or not, as evidence to explain rather than a pass-or-fail outcome.
Science educators describe the subject as more than memorized facts; it's "making claims, analyzing evidence, and engaging in reasoned argumentation," built through discussion, critique, and revision (Edutopia). The Claim, Evidence, Reasoning framework gives that process a shape a child can follow: state what you think happened, back it with something you actually observed, and explain why that observation supports the claim, moving past a gut feeling toward an evidence-based explanation (Edutopia).
Results don't always match what the plan predicted, and that's expected rather than a sign something went wrong. Edutopia's classroom guidance notes that real results are often messy and need genuine interpretation instead of a quick verdict (Edutopia). Treating a surprising result as a new question instead of a failed test is a teaching choice built on that reality, not a finding from the research itself.
Back to the paper airplane: the heavier-nose plane flew shorter on two of three throws, longer on the third. Instead of calling it a bad test, ask the CER questions out loud. "What do you think happened?" "What did you see that makes you think that?" "What would you check next time?" The child might land on: throw angle wasn't as consistent as the nose weight, a new, testable follow-up question worth trying next.
For recording, match the format to where the child is starting from. If a child is new to recording data, a simple two-column "what I saw" picture chart, or tally marks for "shorter" and "longer" described out loud to an adult who writes them down, works well. If a child is already comfortable comparing trials, add a basic data table with repeat trials, a measured unit like inches or floor tiles, and a written one-sentence claim backed by evidence.
After the next experiment, set aside a few minutes for the child to answer the three CER-style questions out loud or on paper before moving on to the next activity, even when the result matched the prediction exactly.
What to check before the next experiment
None of this requires new equipment, just a decision, made before the materials come out, about what phenomenon to show and what question the child will chase.
This method draws mostly on classroom practice reported by educators rather than controlled studies of home experiments, so treat it as a working method to adapt, not a fixed formula. It's not an all-or-nothing swap either. One AP Biology teacher rebuilt his units around student-generated questions while keeping many of his existing labs, assessments, and scaffolds like Cornell notes in place, which suggests this approach layers onto an existing routine rather than replacing it (Edutopia).
Before running the next activity, run through a short check: name the phenomenon to show first, the one question the child will narrow it into, what changes and what gets measured in the fair test, and the safety boundary if heat, sharp tools, or chemicals are involved. If the question turns out untestable, unsafe, or missing materials, use the reshape-the-question move to scale it down instead of dropping it.
For classroom or homeschool use, these steps work well as kid-friendly science investigation ideas layered onto an existing lesson, but confirm three things first: the grade-level science standard the activity supports, the science practice it targets (questioning, planning an investigation, analyzing data, or constructing an evidence-based explanation), and the safety rule that applies to the child's age group. Checking those against the curriculum benchmark or classroom guideline already in use is the next concrete step, not just a nice-to-have.